业务背景
uniapp 打包 ios,android 之后,有时候紧急修复或修改 ui,还需要走应用市场审核,往往审核时间就需要几天,如果是有bug需要升级就会很着急,有热更之后,可以避免应用市场长时间审核,用户很快就能收到更新。
整体思路:
要在uni-app中实现app更新功能,并使用Node.js作为后端服务,可以按照以下思路和步骤进行:
1、后端服务
- 使用Express创建一个简单的Web服务器。
- 提供两个API接口:
/checkForUpdate/:version用于检查是否有新版本。/downloadApp/:version用于下载app。
2、uni-app前端
- 在页面加载时调用checkForUpdate方法检查是否有新版本。
- 如果有新版本,弹出提示框询问用户是否要更新。
- 如果用户选择更新,则下载新版本文件并下载安装过程。
步骤一 创建Node.js后端服务
1、安装必要依赖:
- 安装
express或其他 Node.js web 框架来做后端服务。 - 安装
cors用于处理跨域请求。
1npm install express cors
2、创建一个简单的后端服务:
- 在项目根目录下创建一个名为
public的文件夹,并在其中创建一个名为apps的文件夹用于存放要更新的App。 - 将app打包好的app命名为:
appx.x.x.wgtapp更新文件放到apps文件夹中。 - 在项目根目录下创建一个名为
server.js的文件,并写入以下代码:
1
2
3const express = require('express');
4const cors = require('cors');
5const fs = require('node:fs');
6const path = require('node:path');
7
8const app = express();
9
10app.use(cors());
11
12
13app.use('/public', express.static(path.join(__dirname, 'public')));
14
15
16const appDir = path.join(__dirname, 'public/apps');
17
18
19let serverAddress = ''
20
21
22 * 根据客户端提供的版本号检查是否有新版本。
23 */
24app.get('/checkForUpdate/:version', async (req, res) => {
25
26
27 const appCurrentVersion = req.params.version
28
29 let appLatestVersion = ''
30
31 try {
32
33 const files = fs.readdirSync(appDir);
34
35
36 const appFiles = files.filter(file => path.basename(file).startsWith('app'));
37
38
39 const sortedFiles = appFiles.sort((a, b) => {
40 const aParts = a.split('.').map(Number);
41 const bParts = b.split('.').map(Number);
42
43 for (let i = 0; i < Math.max(aParts.length, bParts.length); i++) {
44 if (aParts[i] > bParts[i]) return 1;
45 if (aParts[i] < bParts[i]) return -1;
46 }
47
48 return 0;
49 });
50
51
52 appLatestVersion = sortedFiles.pop()
53
54
55 appLatestVersion = appLatestVersion.replace(/^app/, '').replace(/\.wgt$/, '')
56
57 } catch (error) {
58 throw new Error('Error reading public directory:' + error)
59 }
60
61
62 if (appLatestVersion > appCurrentVersion) {
63 res.send({
64 version: appLatestVersion,
65 url: `${serverAddress}/downloadApp/${appLatestVersion}`,
66 update: true,
67 mandatoryUpdate:true
68 })
69 } else {
70 res.send({
71 version: '',
72 url: '',
73 update: false,
74 mandatoryUpdate:false
75 })
76 }
77})
78
79
80 * 提供文件下载
81 */
82app.get('/downloadApp/:version', async (req, res) => {
83
84 const version = req.params.version
85 const appName = `app${version}.wgt`
86
87 const appFilePath = `${appDir}/${appName}`
88
89
90 fs.stat(appFilePath, (err, stats) => {
91 if (err) {
92 throw new Error(`未找到 app${version}版本下载地址`)
93 }
94
95
96
97 res.setHeader('Content-Disposition', `attachment; filename=${appName}`);
98
99 res.setHeader('Content-Type', 'application/octet-stream');
100
101
102 const fileStream = fs.createReadStream(appFilePath);
103
104
105 fileStream.on('end', () => {
106 console.log('File download completed.');
107 });
108
109
110 fileStream.on('error', (error) => {
111 throw new Error('Error downloading the file.:' + error)
112 });
113
114
115 fileStream.pipe(res);
116 });
117})
118
119const port = 3000;
120
121const server = app.listen(port, () => {
122
123 const addressInfo = server.address();
124 const host = addressInfo.address === '::' ? 'localhost' : addressInfo.address;
125 const port = addressInfo.port;
126 serverAddress = `http://${host}:${port}`
127 console.log(`Server is running at http://${host}:${port}`);
128});
3. 启动后端服务
打开终端,进入到项目根目录,执行以下命令:
1node server.js
步骤二 创建uni-app前端应用
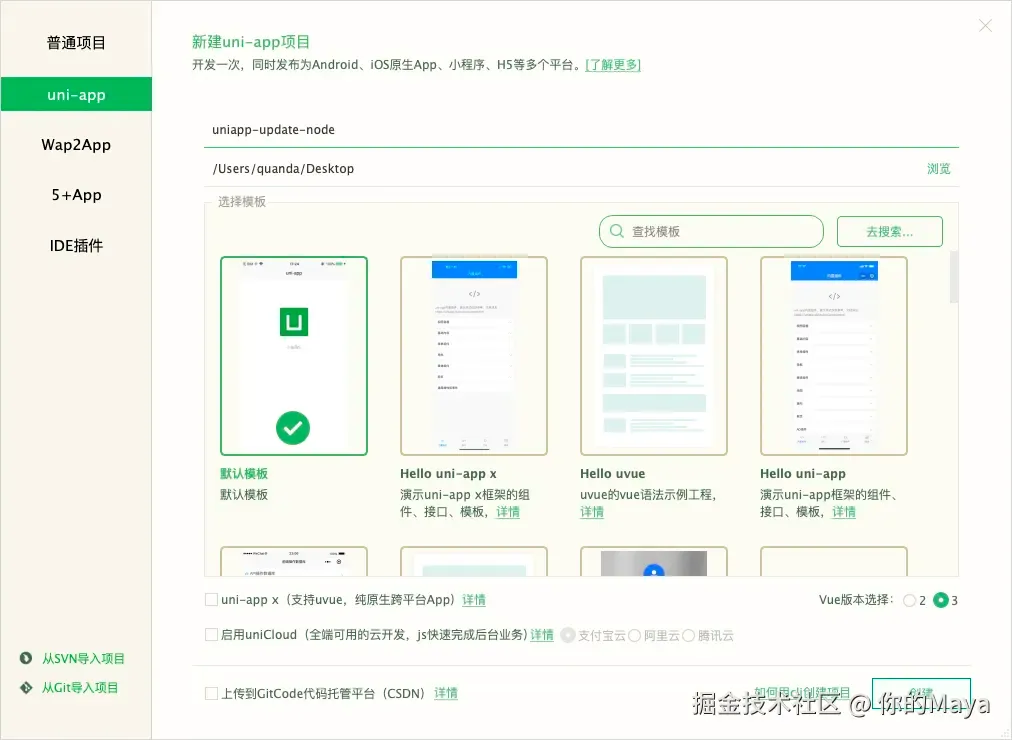
1、创建uni-app项目
打开HBuilderX 选择菜单栏上的 [文件] -> [新建] -> [项目] 创建一个新的uni-app项目。
2、实现检查更新逻辑
打开项目根目录下的pages/index/index.vue文件,新增checkForUpdate方法,并在onLoad生命周期中调用该方法。
1<template>
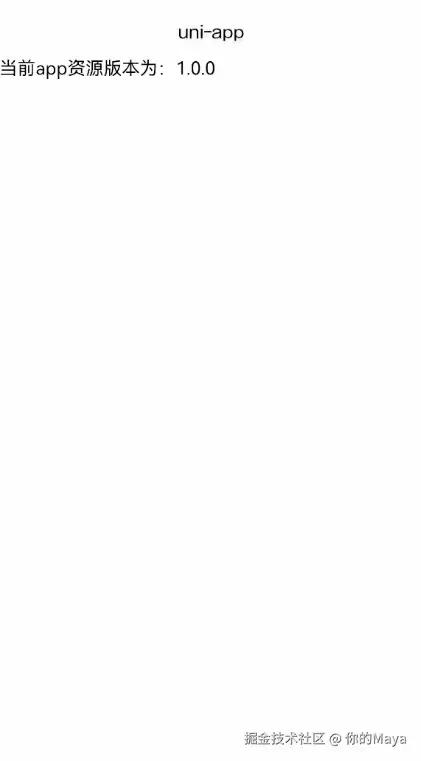
2 <text class="title" style="text-align: center;">
3 当前app资源版本为:{{appWgtVersion}}
4 </text>
5</template>
6
7<script setup>
8import { ref } from 'vue'
9import { onLoad } from '@dcloudio/uni-app'
10const appWgtVersion = ref('')
11
12
13onLoad(() => {
14 checkForUpdate()
15})
16
17
18 * 检查是否需要更新app
19 */
20function checkForUpdate() {
21
22
23
24 const systemInfo = uni.getSystemInfoSync()
25
26 appWgtVersion.value = systemInfo.appWgtVersion
27
28 uni.request({
29 url: 'http://192.168.43.245:3000/checkForUpdate/' + appWgtVersion.value,
30 success: (res) => {
31 console.log('request-res', res);
32 if (res.data && res.data.update) {
33 uni.showModal({
34 title: '新版本发布',
35 content: '检查到当前有新版本,需要更新吗?',
36 showCancel: true,
37 confirmText: '立即更新',
38 cancelText: '暂不更新',
39
40 success: (modalRes) => {
41 if (modalRes.confirm) {
42
43 uni.showLoading({
44 title: '正在下载'
45 })
46 console.log('res.data.url',res.data.url);
47
48 const downloadTask = uni.downloadFile({
49 url: res.data.url,
50 success: (downloadRes) => {
51 if (downloadRes.statusCode === 200) {
52 uni.showLoading({
53 title: '正在安装更新...'
54 });
55 plus.runtime.install(downloadRes.tempFilePath, {
56 force: true
57 }, () => {
58 console.log('install success...');
59 uni.hideLoading()
60 plus.runtime.restart();
61 }, (e) => {
62 console.log('install fail...', e);
63 uni.hideLoading()
64 uni.showToast({
65 title: '安装失败:' + JSON.stringify(e),
66 icon: 'fail',
67 duration: 1500
68 });
69 });
70 setTimeout(() => {
71 uni.hideLoading();
72 uni.showToast({
73 title: '安装成功!',
74 icon: 'none'
75 });
76 }, 3000);
77 }
78 },
79
80 fail: (fail) => {
81 console.log('网络错误,下载失败!', fail);
82 uni.hideLoading();
83 },
84
85 complete: () => {
86 console.log('----------------Complete----------------:', downloadTask)
87 downloadTask.offProgressUpdate();
88 }
89 });
90
91 downloadTask.onProgressUpdate(res => {
92
93
94
95 });
96 } else {
97
98
99 if(res.data.mandatoryUpdate){
100 if (systemInfo.platform === 'android') {
101
102 plus.runtime.quit();
103 } else {
104
105 plus.ios.import("UIApplication").sharedApplication().performSelector("exit");
106 }
107 }
108 }
109 }
110 });
111 }
112 },
113 fail: (fail) => {
114 console.log('检查更新请求失败!', fail);
115 }
116 });
117
118}
119</script>
3、制作应用wgt包
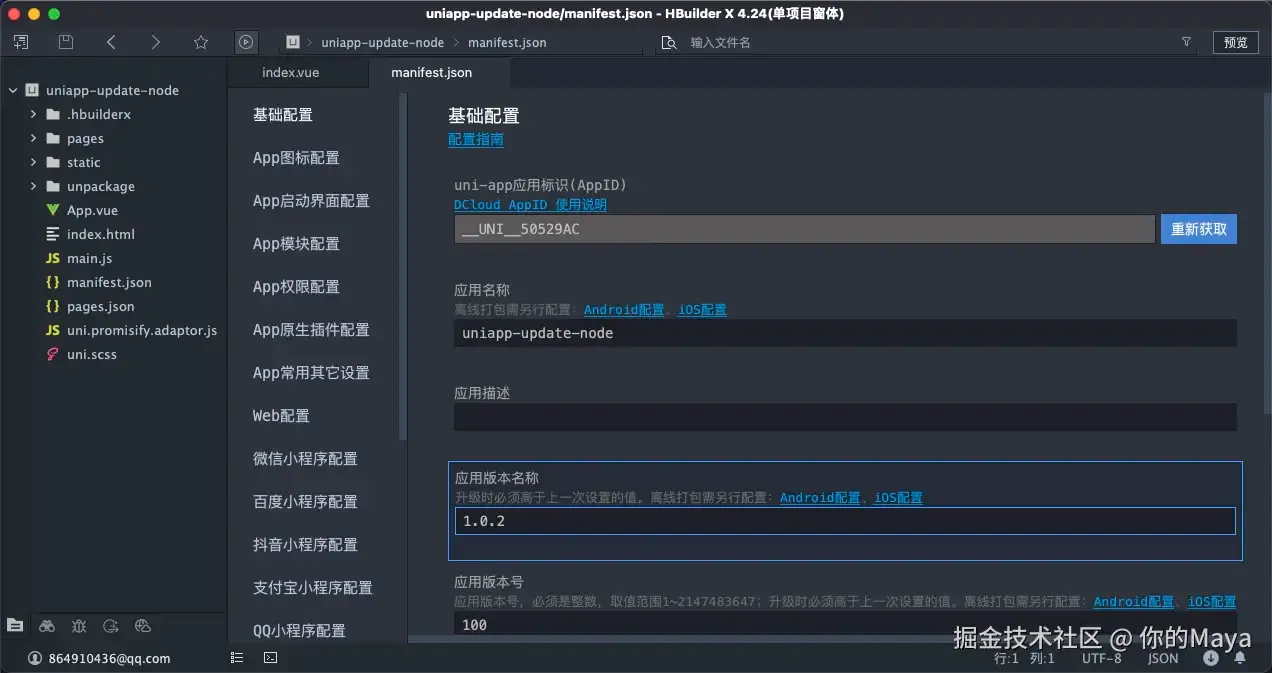
1、打开项目根目录下的manifest.json配置文件,在基础设置中将应用版本名称设置为1.0.2。
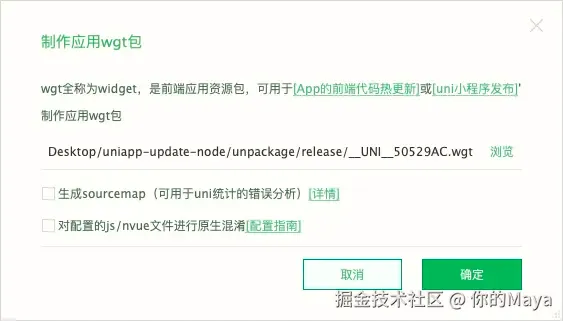
2、选择菜单栏上的 [发行] -> [原生App-制作应用wgt包]
3、将打包好的wgt包更名为app1.0.2.wgt。
后端是按照这个命名规范来进行升级的,所以我们按照这个规范来。
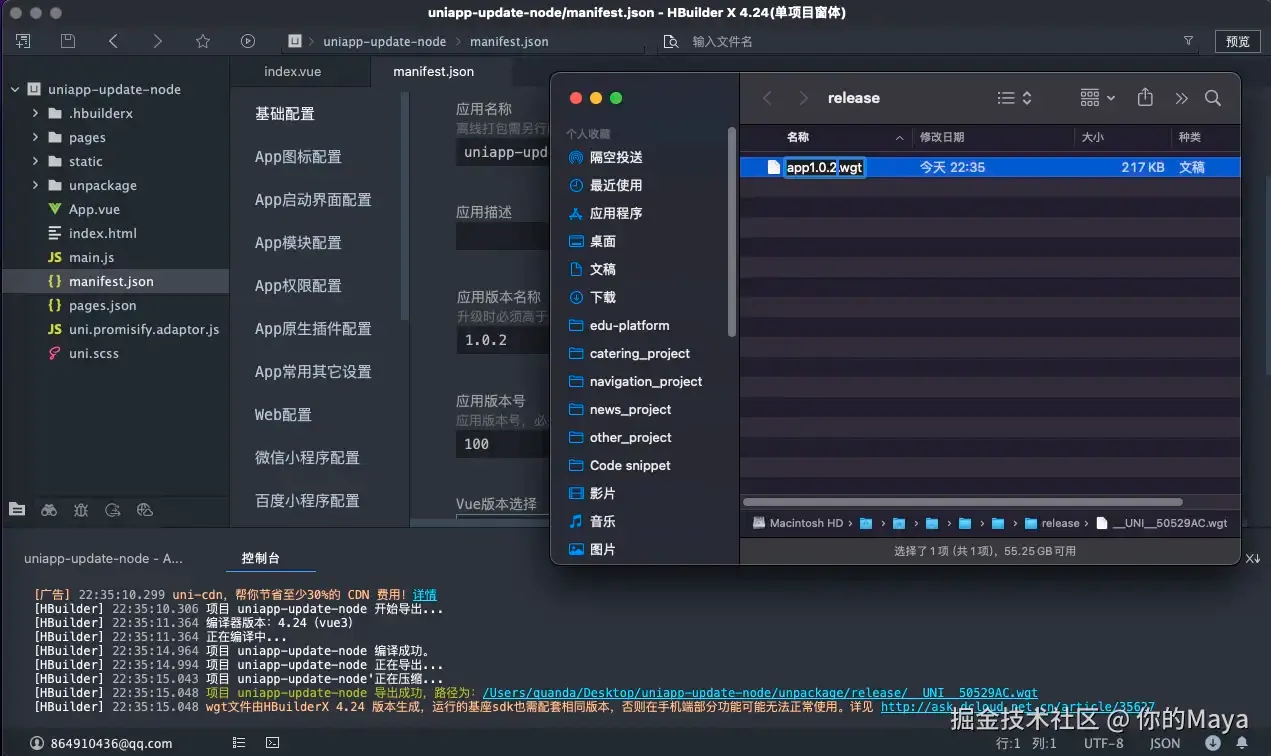
4、将打包好的app1.0.2.wgt包放在后端服务器的/public/apps文件夹中。
4、测试app更新功能
1、打开项目根目录下的manifest.json配置文件,在基础设置中将应用版本名称设置为1.0.0,只要低于服务器中的版本即可。
2、运行app到手机
运行到手机后,页面会弹出更新提示框
点击“立即更新”按钮
app会自动下载并安装更新,安装更新后的app后,会自动启动并运行。
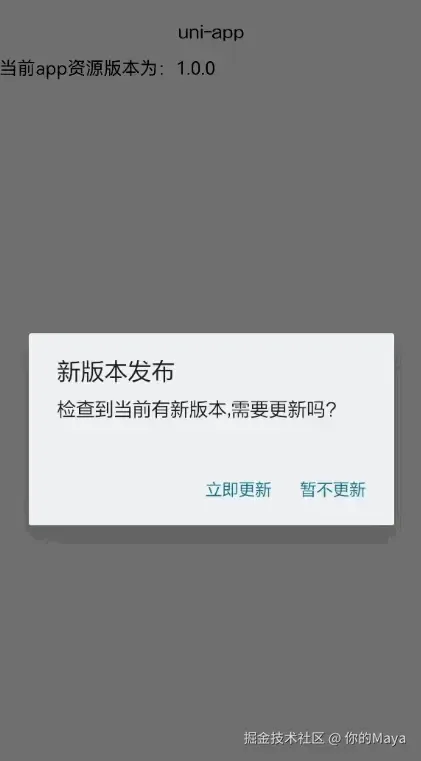
点击“稍后更新”按钮
在App非强制更新的情况下则关闭更新提示框。
点击“稍后更新”按钮
在App强制更新的情况下则退出App。
注意事项
- 确保Node.js后端服务和uni-app前端应用在同一网络环境中运行。
- 测试时,请确保文件路径和URL正确无误。
以上步骤提供了一个基本的uni-app和Node.js实现app更新功能的示例。你可以根据具体需求进行调整和扩展。
个人笔记记录 2021 ~ 2025